After years of shooting in Kruger, I've come to believe that every memorable wildlife photograph comes down to the same five elements. Not five hundred. Not fifty. Five. When they all intersect in a single frame, you've got something special. When only two or three show up — which is most of the time — you've got a decent record shot, and that's perfectly fine too.
Understanding these five elements changed how I approach every drive in the park. Instead of pointing my lens at anything that moves, I now spend most of my time scanning for these elements to come together. It's made me more patient, more selective, and ultimately much happier with my work.
Here they are.
1. A cooperative subject
This is the one element you have the least control over. A cooperative subject is one that's calm, relaxed, and not bothered by your presence. It's an animal that stays put long enough for you to compose, that doesn't have its back permanently turned to you, and that isn't stressed or fleeing.
In Kruger, many animals are remarkably habituated to vehicles. Lions sleeping by the road, elephants feeding alongside you, birds perched on a fence post at a rest camp — these are cooperative subjects. A leopard bolting into the bush the moment it spots your car is not.
You can't force cooperation, but you can increase your chances. Approach slowly. Turn your engine off. Don't make sudden movements or loud noises. Give the animal time to settle. If it's clearly uncomfortable, back off. An uncomfortable animal makes for bad photos and bad ethics.
The patience to wait for cooperation is one of the hardest skills to develop, and one of the most rewarding.
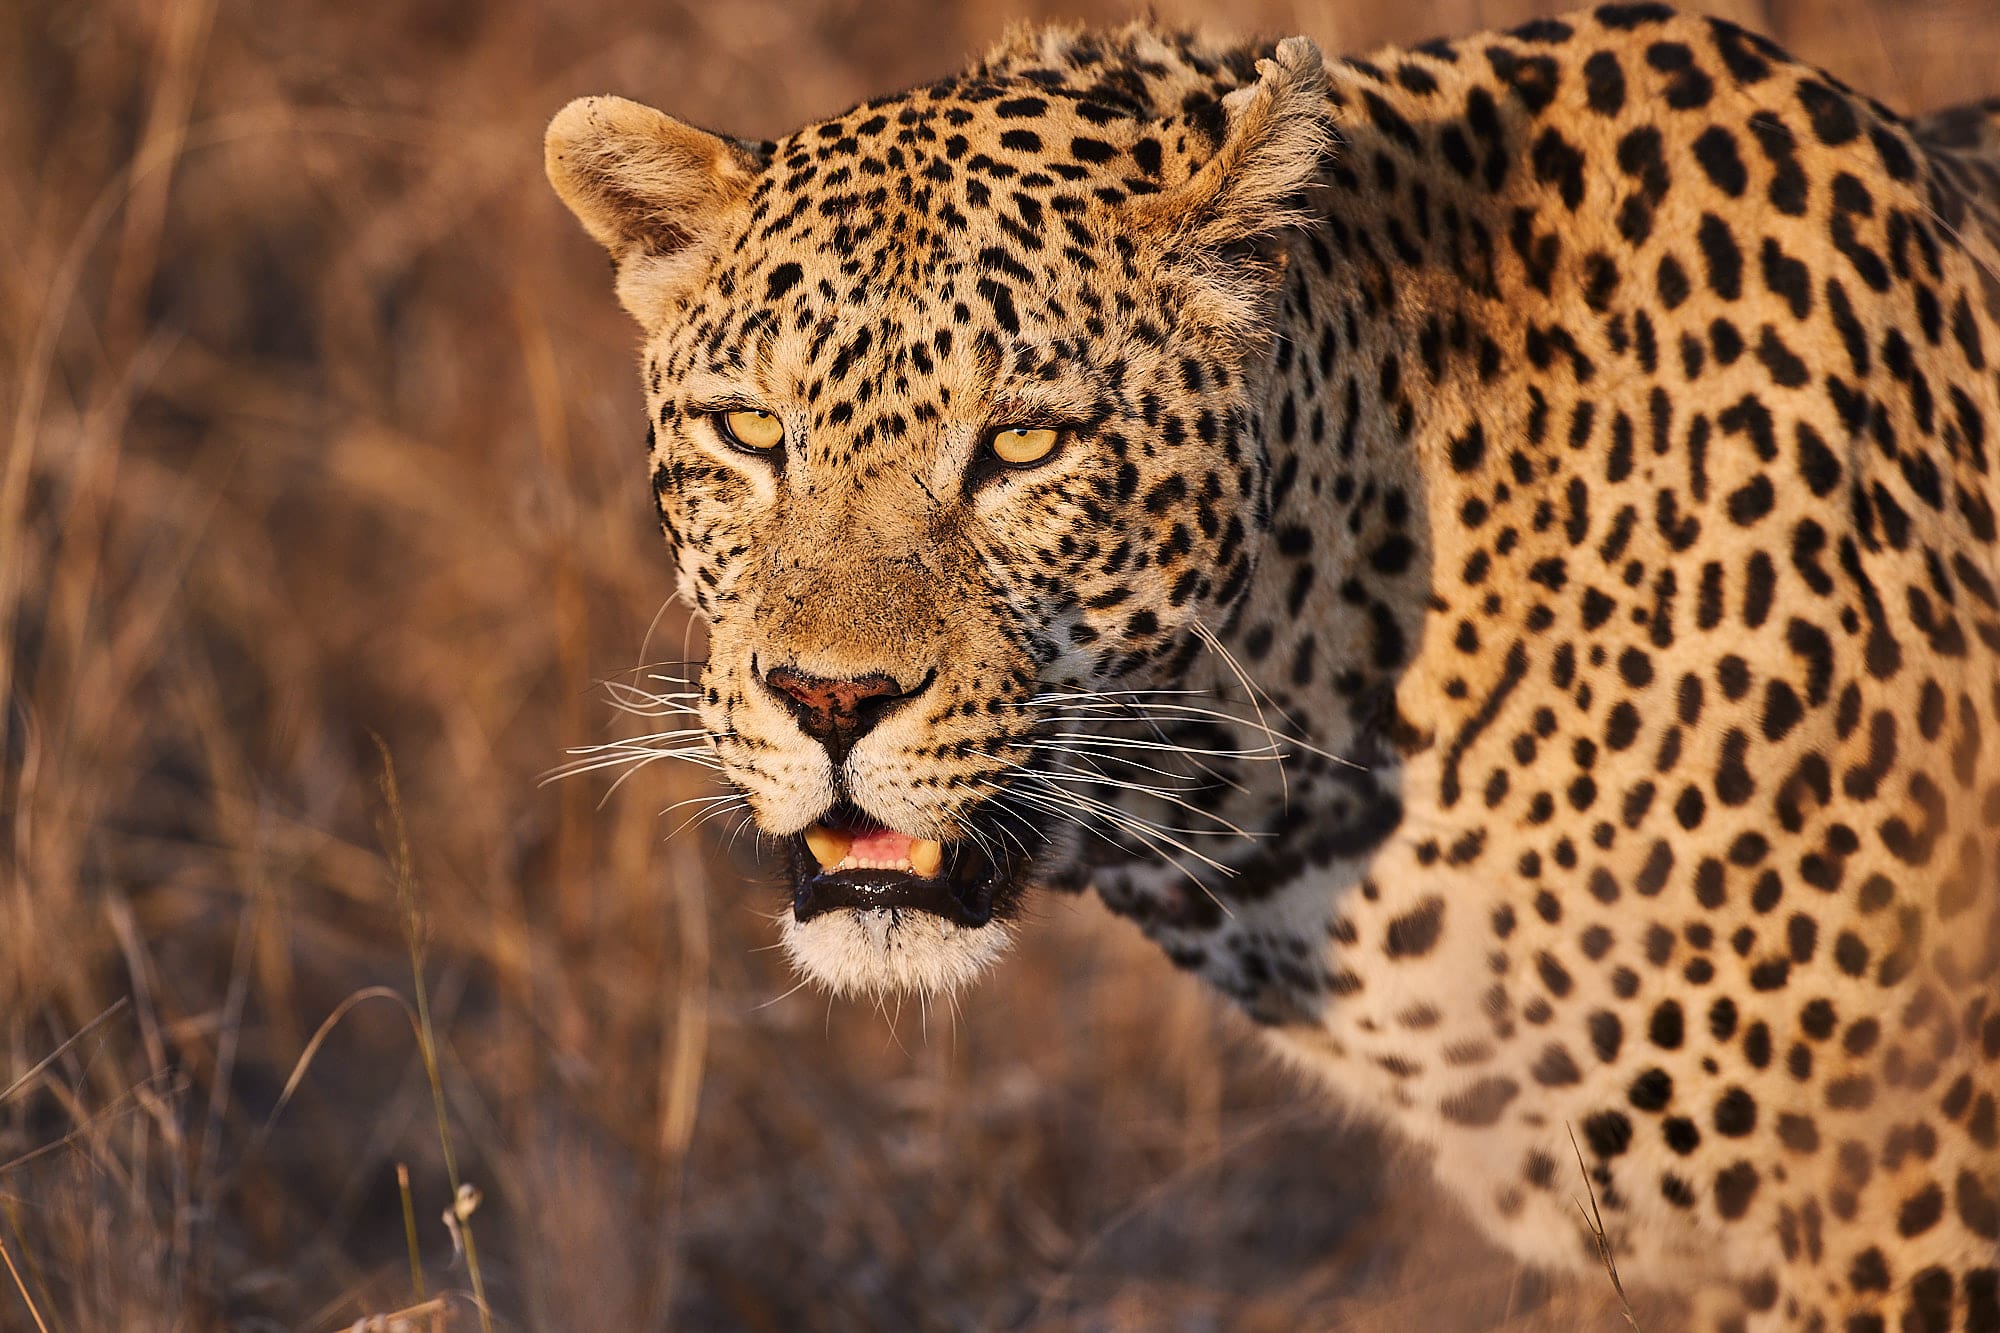
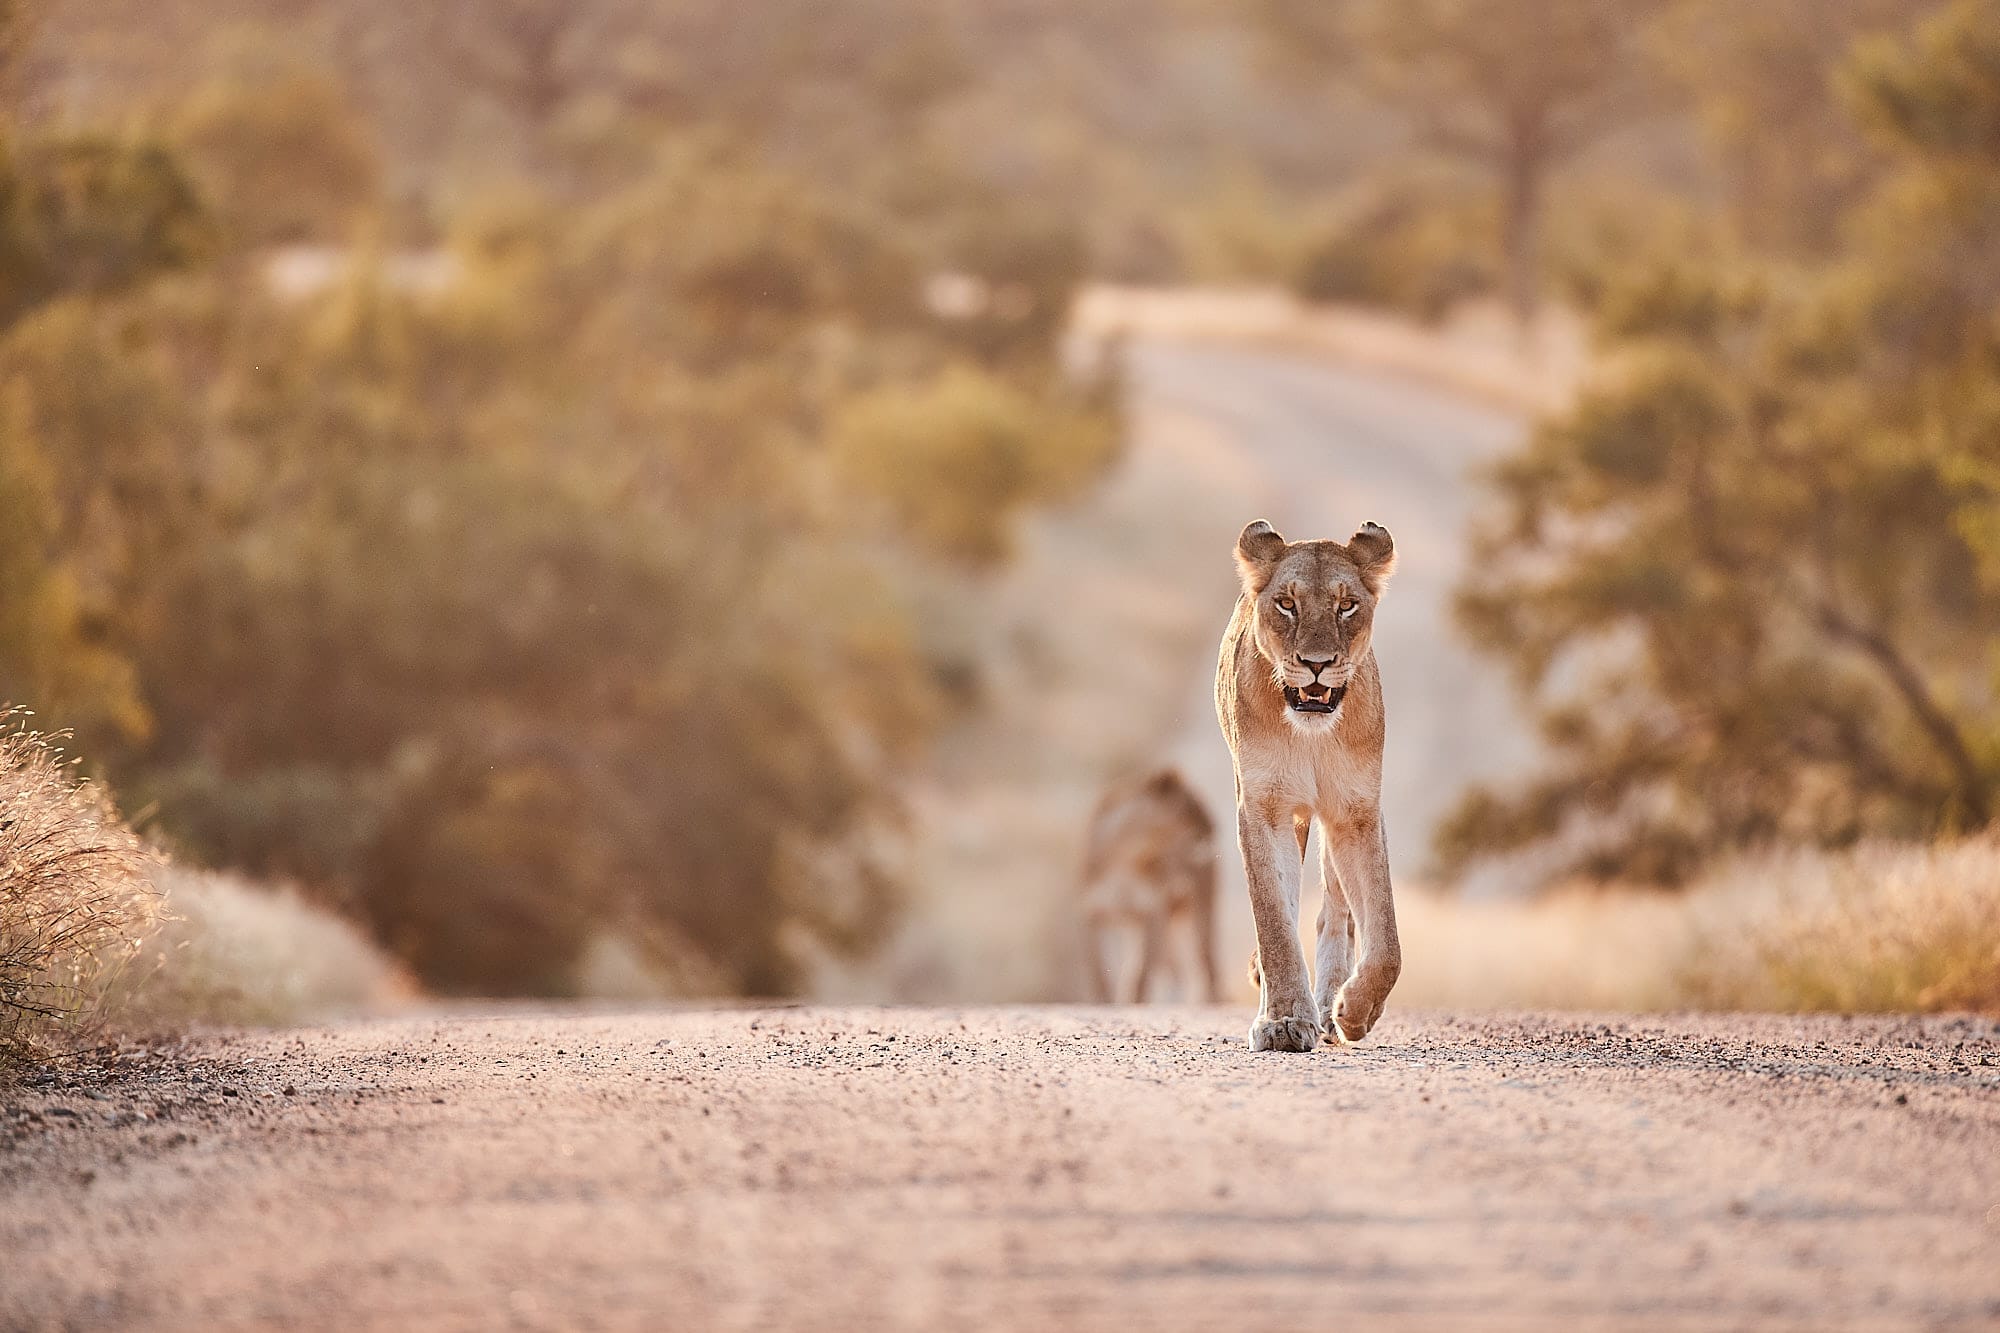
2. Good light
Light is everything. The same subject in the same position can look completely different depending on when and how the light hits it. Early morning and late afternoon — the golden hours — produce warm, directional light that adds depth, texture and drama to any scene. Midday sun flattens everything and creates harsh shadows under eyes and bellies.
This is why the old advice to be at the gate at opening time and stay out until closing isn't just about maximising your hours in the park. It's about being in the field when the light is at its best. The photographers who consistently produce the best work from Kruger are the ones who are out in the first and last light of the day while everyone else is having a leisurely breakfast or packing up early for braai prep.
Overcast days are not a write-off either. Cloud cover acts as a giant diffuser, producing soft, even light that's beautiful for portraits and close-ups. Some of my favourite bird photos were taken under grey skies that most people would call bad weather.

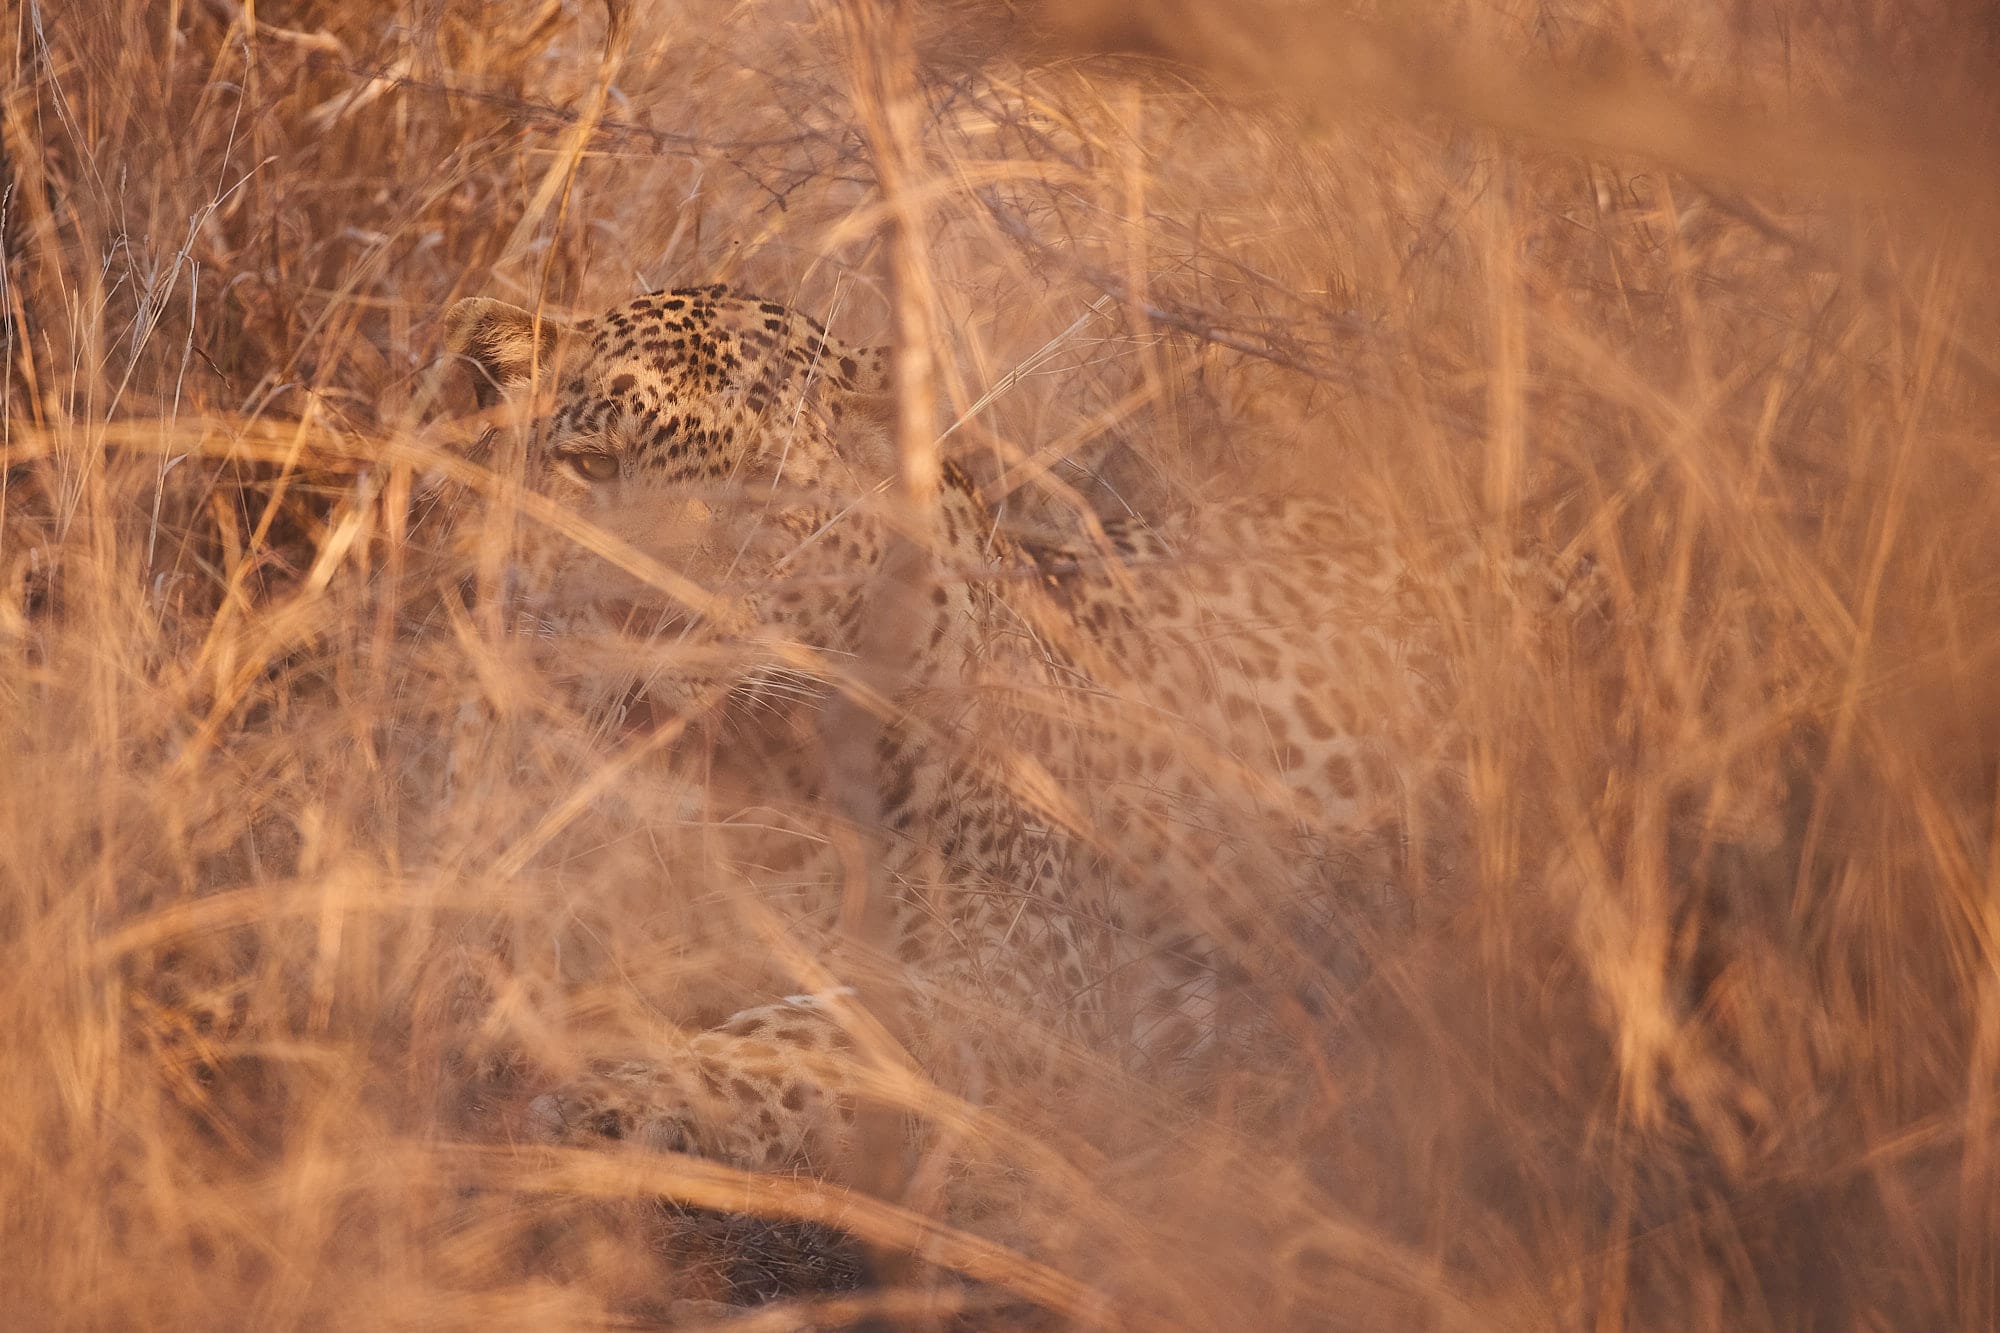
3. Golden distance
Here's where Kruger's on-road-only constraint becomes a real factor. You can't get out of your car, you can't drive off-road, and you can't reposition yourself on foot. Your subject needs to be close enough that your lens can do its job.
What counts as "close enough" depends on your gear. With a 100-400mm zoom, you need the subject within about 30 metres for a decent frame-filling shot of a large mammal. For birds, you need them much closer — or a longer lens. This is reality, and no amount of cropping will turn a distant speck into a portfolio image.
The good news is that Kruger's network of roads passes through an extraordinary range of habitats, and animals regularly feed, rest and hunt right alongside the tar. Many of the best sightings I've had were within ten metres of the road. You just need to be in the right place at the right time — which brings us back to spending more time in the park.
When a subject is at the edge of your range, resist the urge to shoot anyway and crop later. Instead, wait. Animals move. They might come closer. And if they don't, that's fine — not every sighting needs to become a photo.
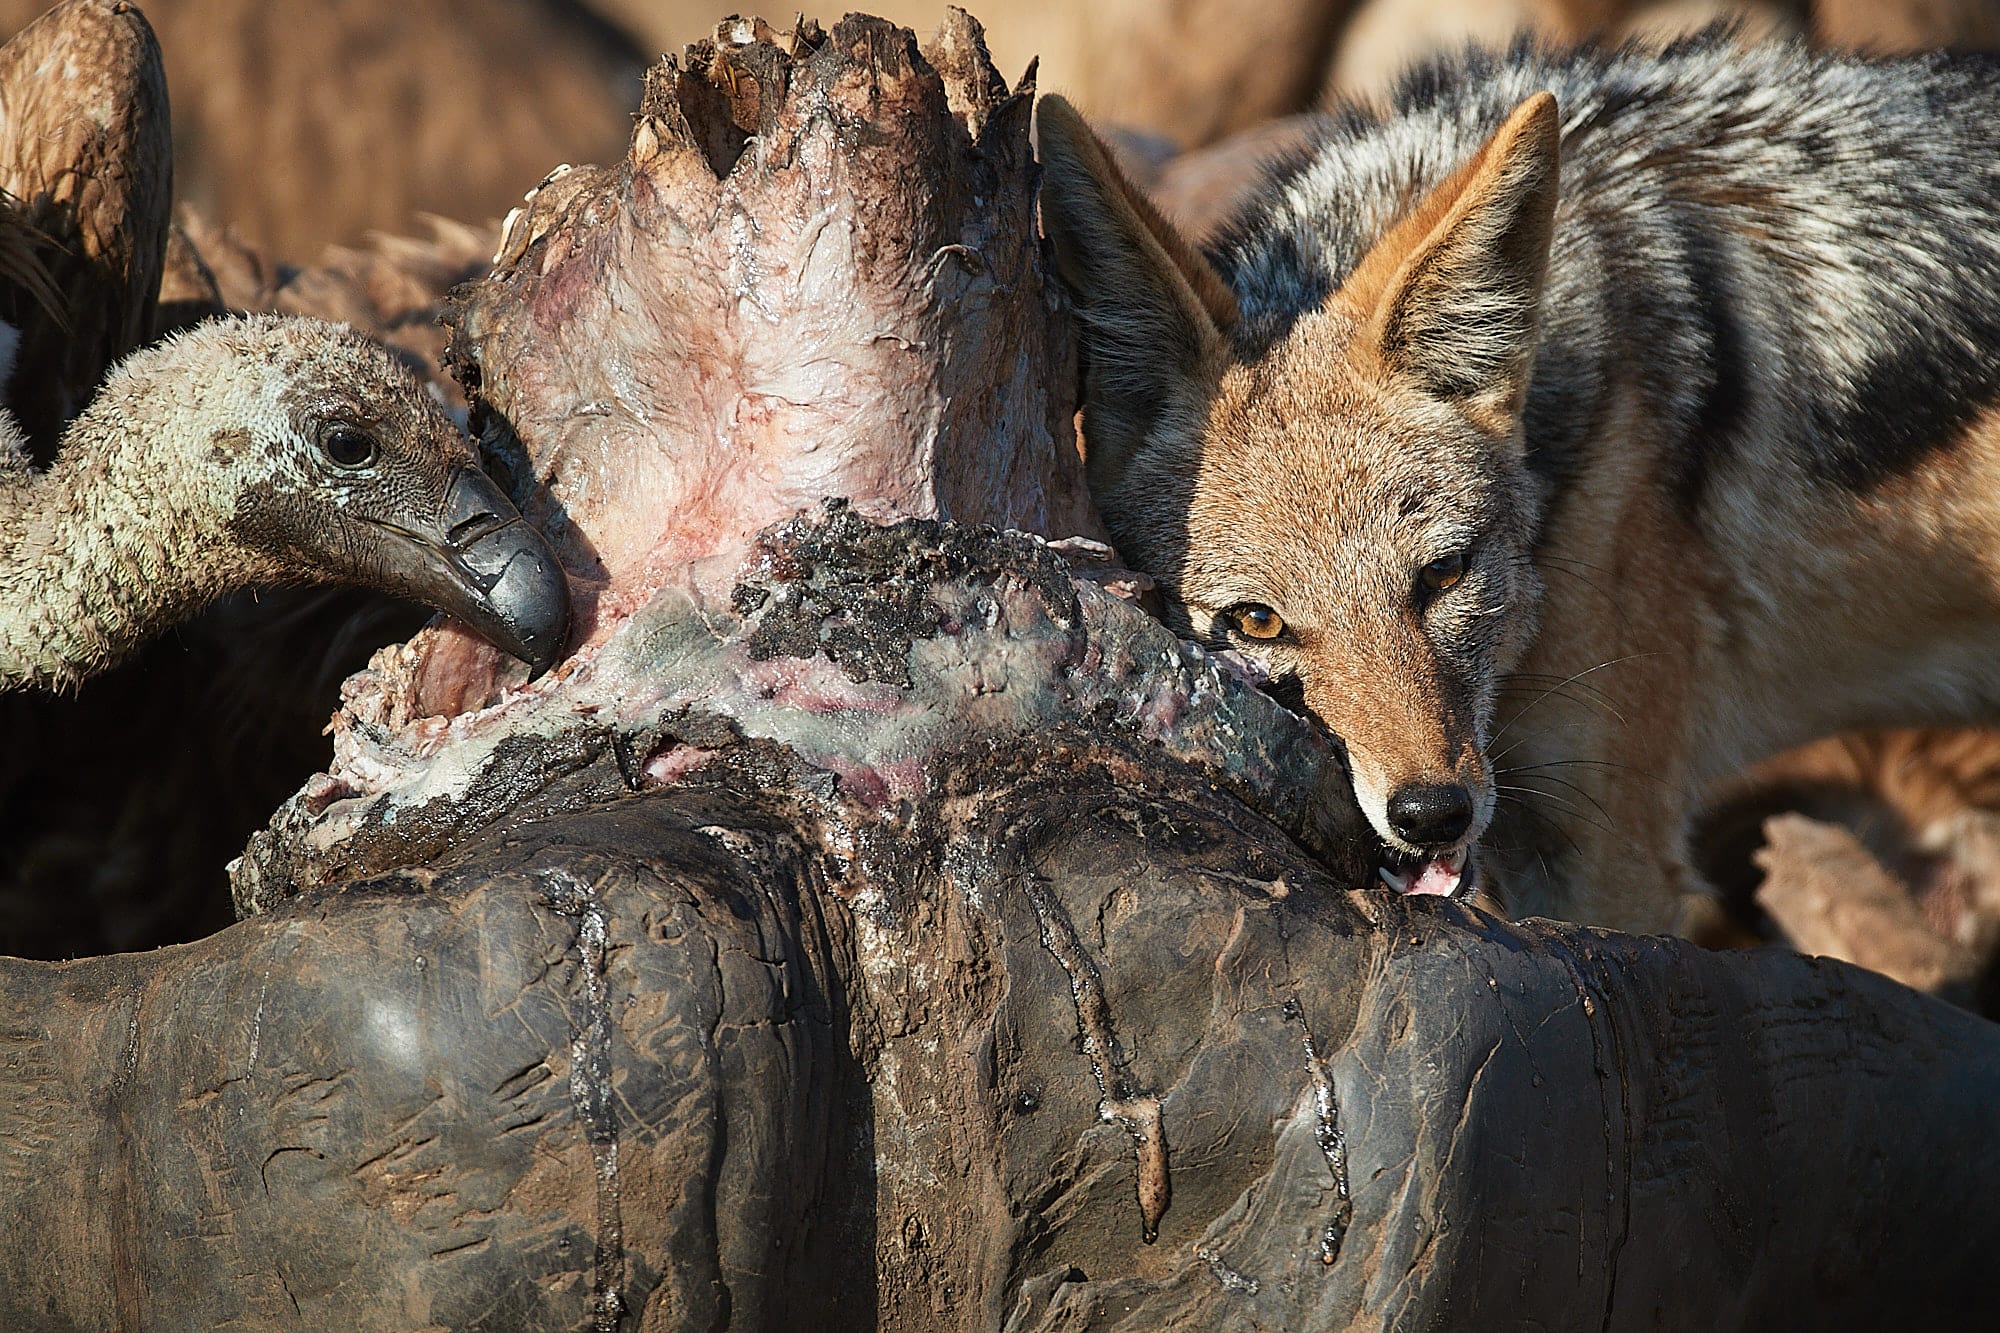
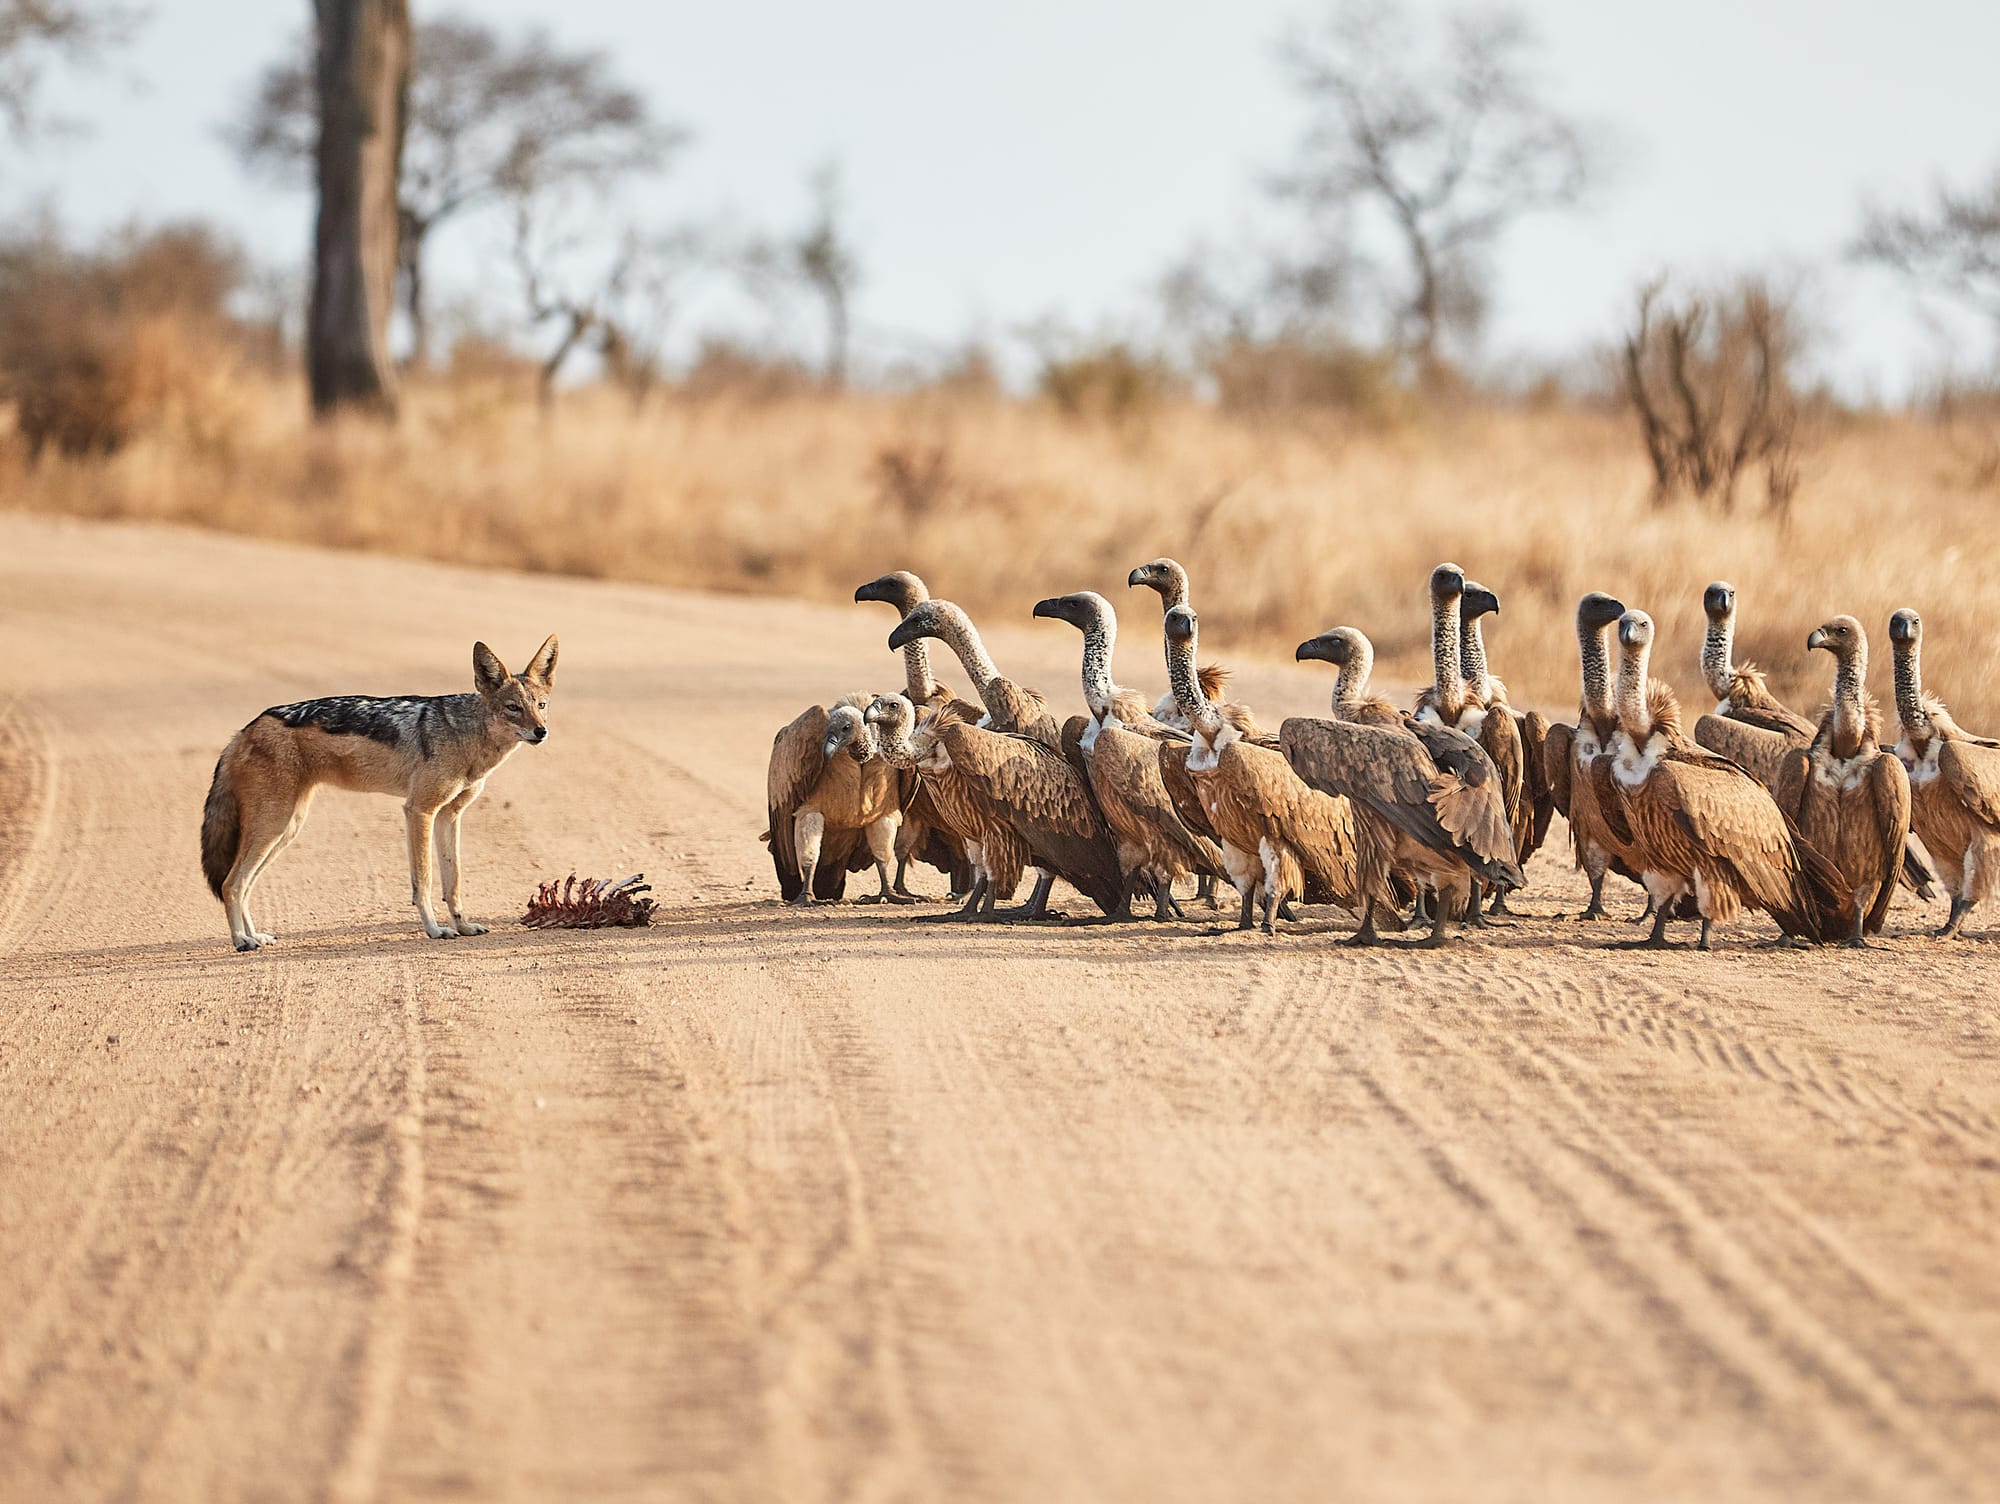
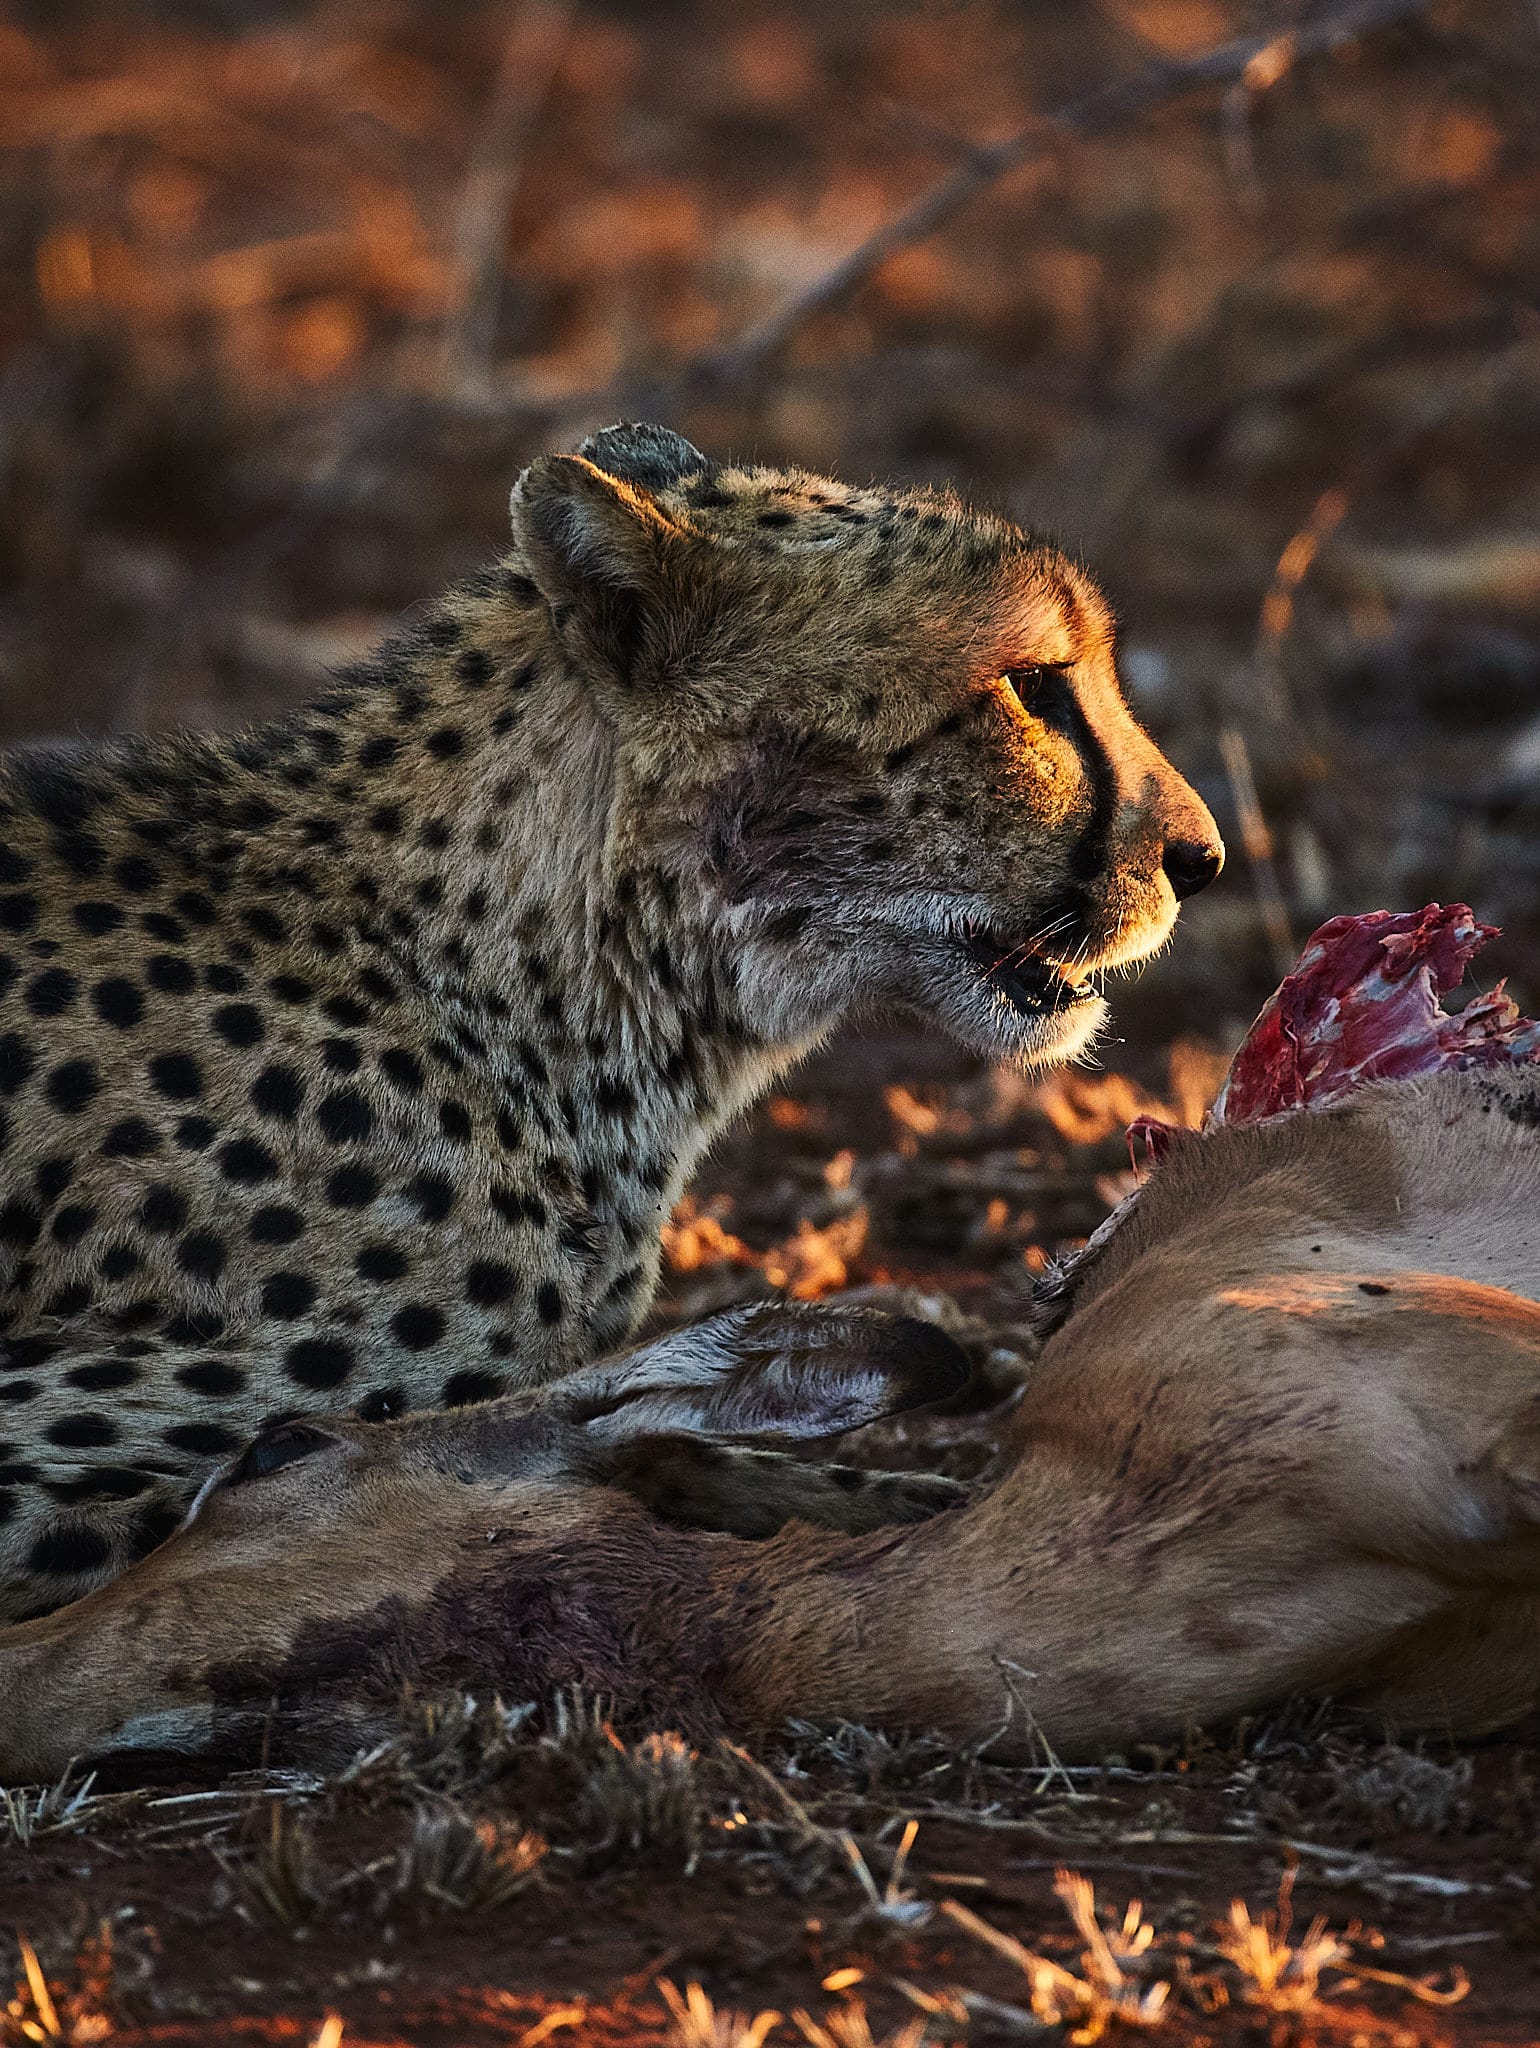
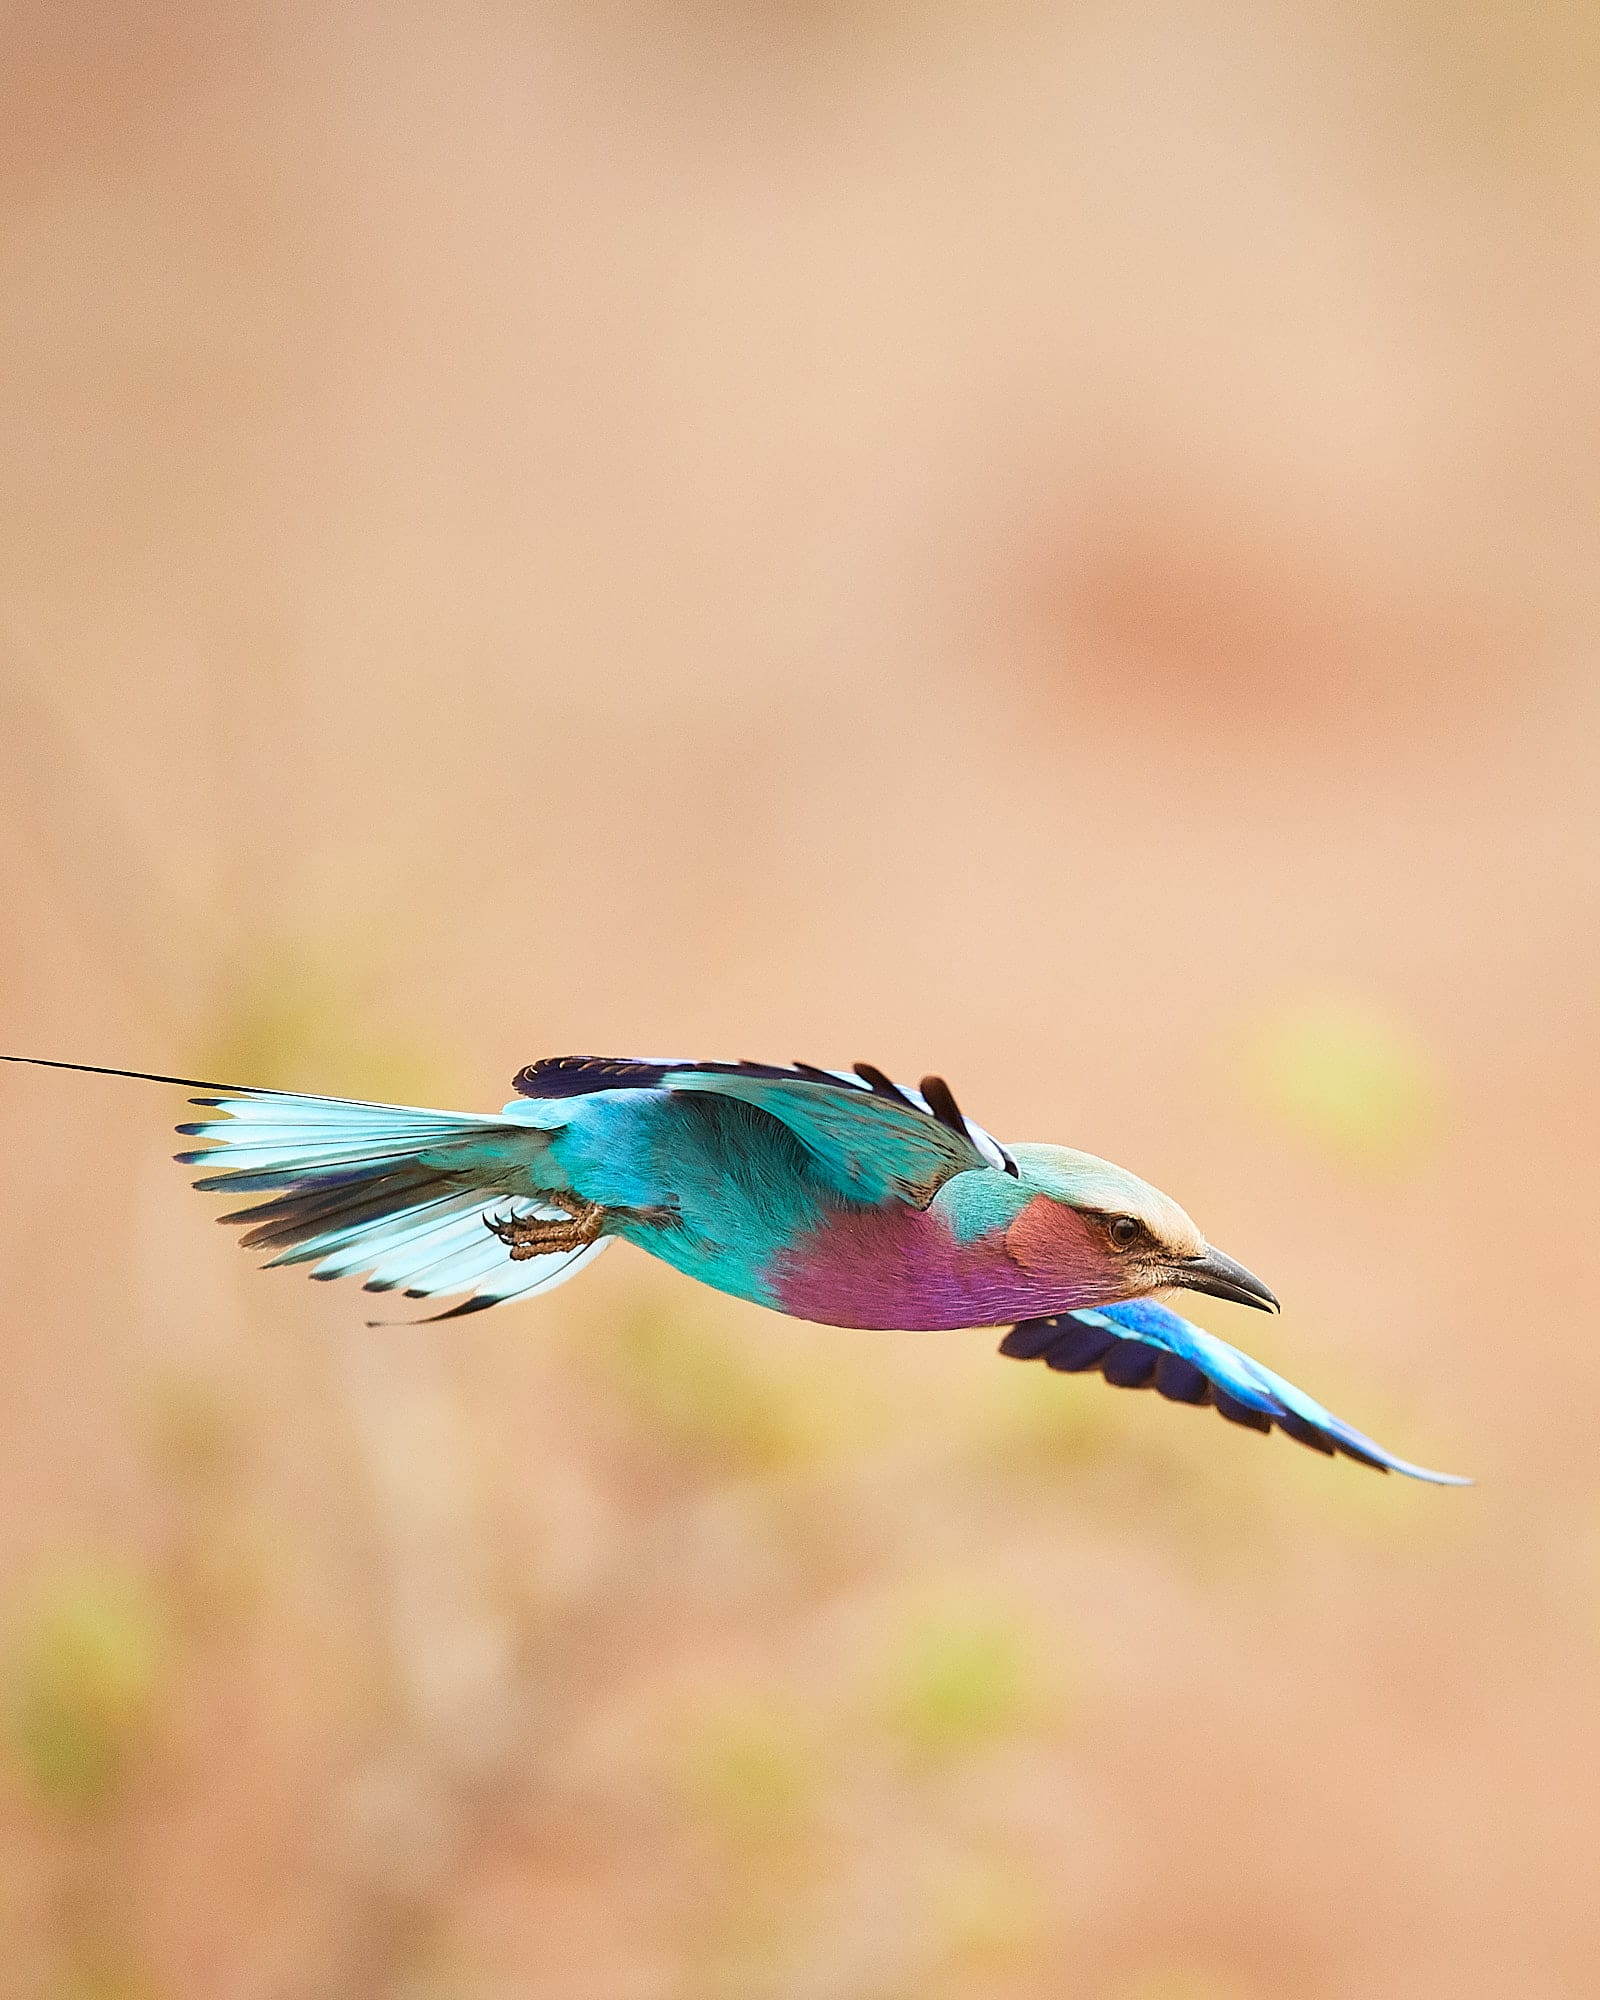
4. Interesting behaviour
A sharp, well-lit photo of an animal standing still and staring into space is a record shot. There's nothing wrong with record shots — they document what you saw and can be beautiful in their own right. But the photos that stop people in their tracks almost always capture behaviour.
A predator mid-hunt. A mother grooming her cub. Two bulls sparring. A fish eagle hitting the water. An elephant spraying mud over its back. A tiny oxpecker cleaning a hippo's ear. These are the moments that tell a story, and stories are what make photos memorable.
You can't choreograph behaviour in the wild, but you can learn to anticipate it. Spend time watching your subjects before you start shooting. Learn the body language that precedes action — the tensing of a hunting cat or the head-bob of a heron about to strike. Read about the species you're photographing. The more you know about animal behaviour, the more often you'll be ready when something happens.
And when nothing happens? Enjoy the stillness. Not every drive produces action, and that's part of what makes the action so thrilling when it arrives.
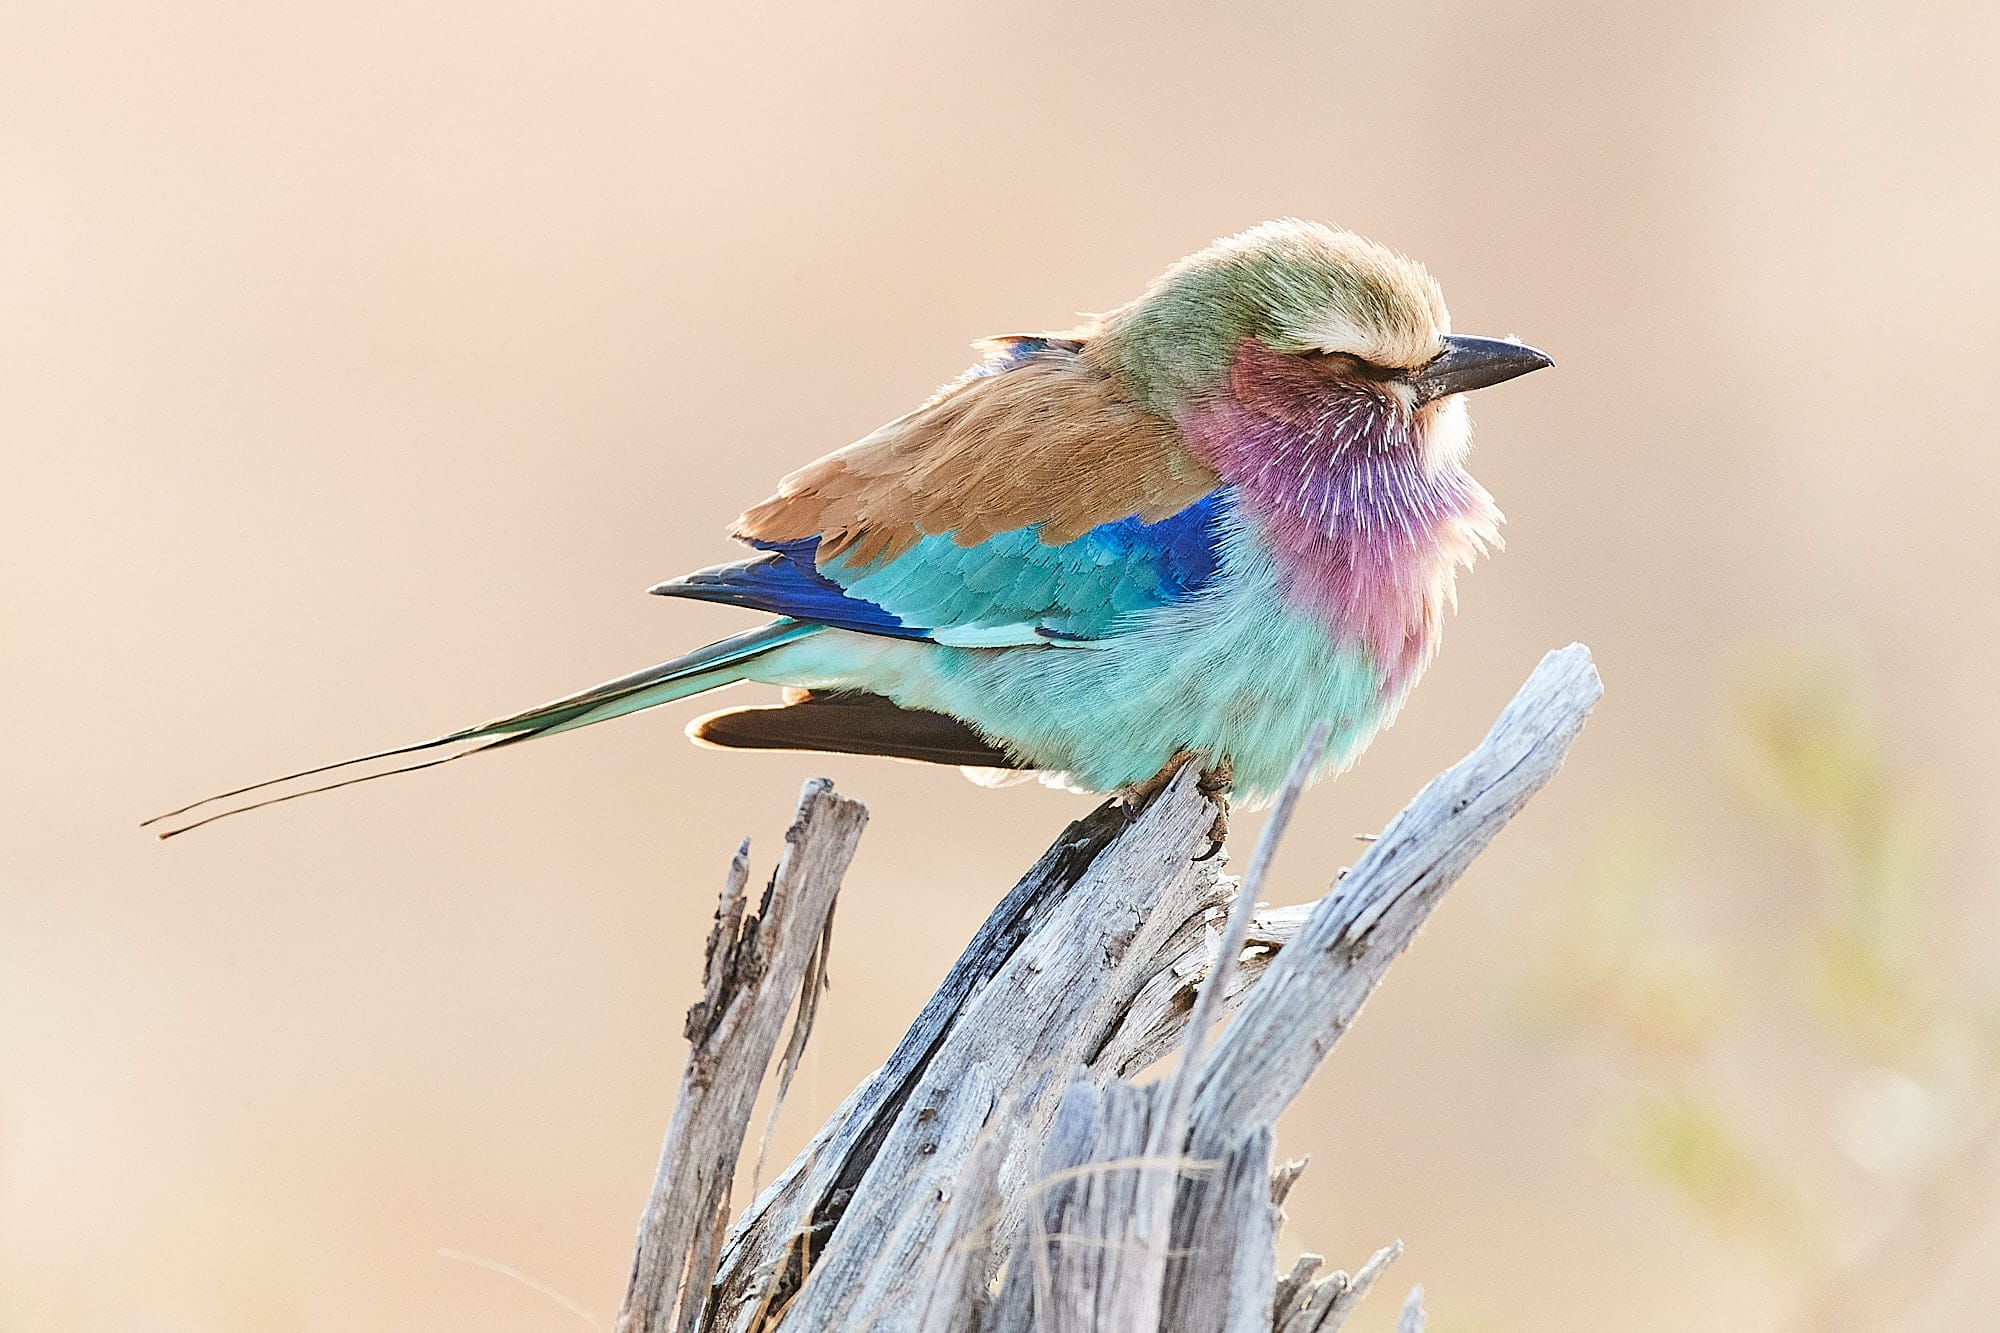
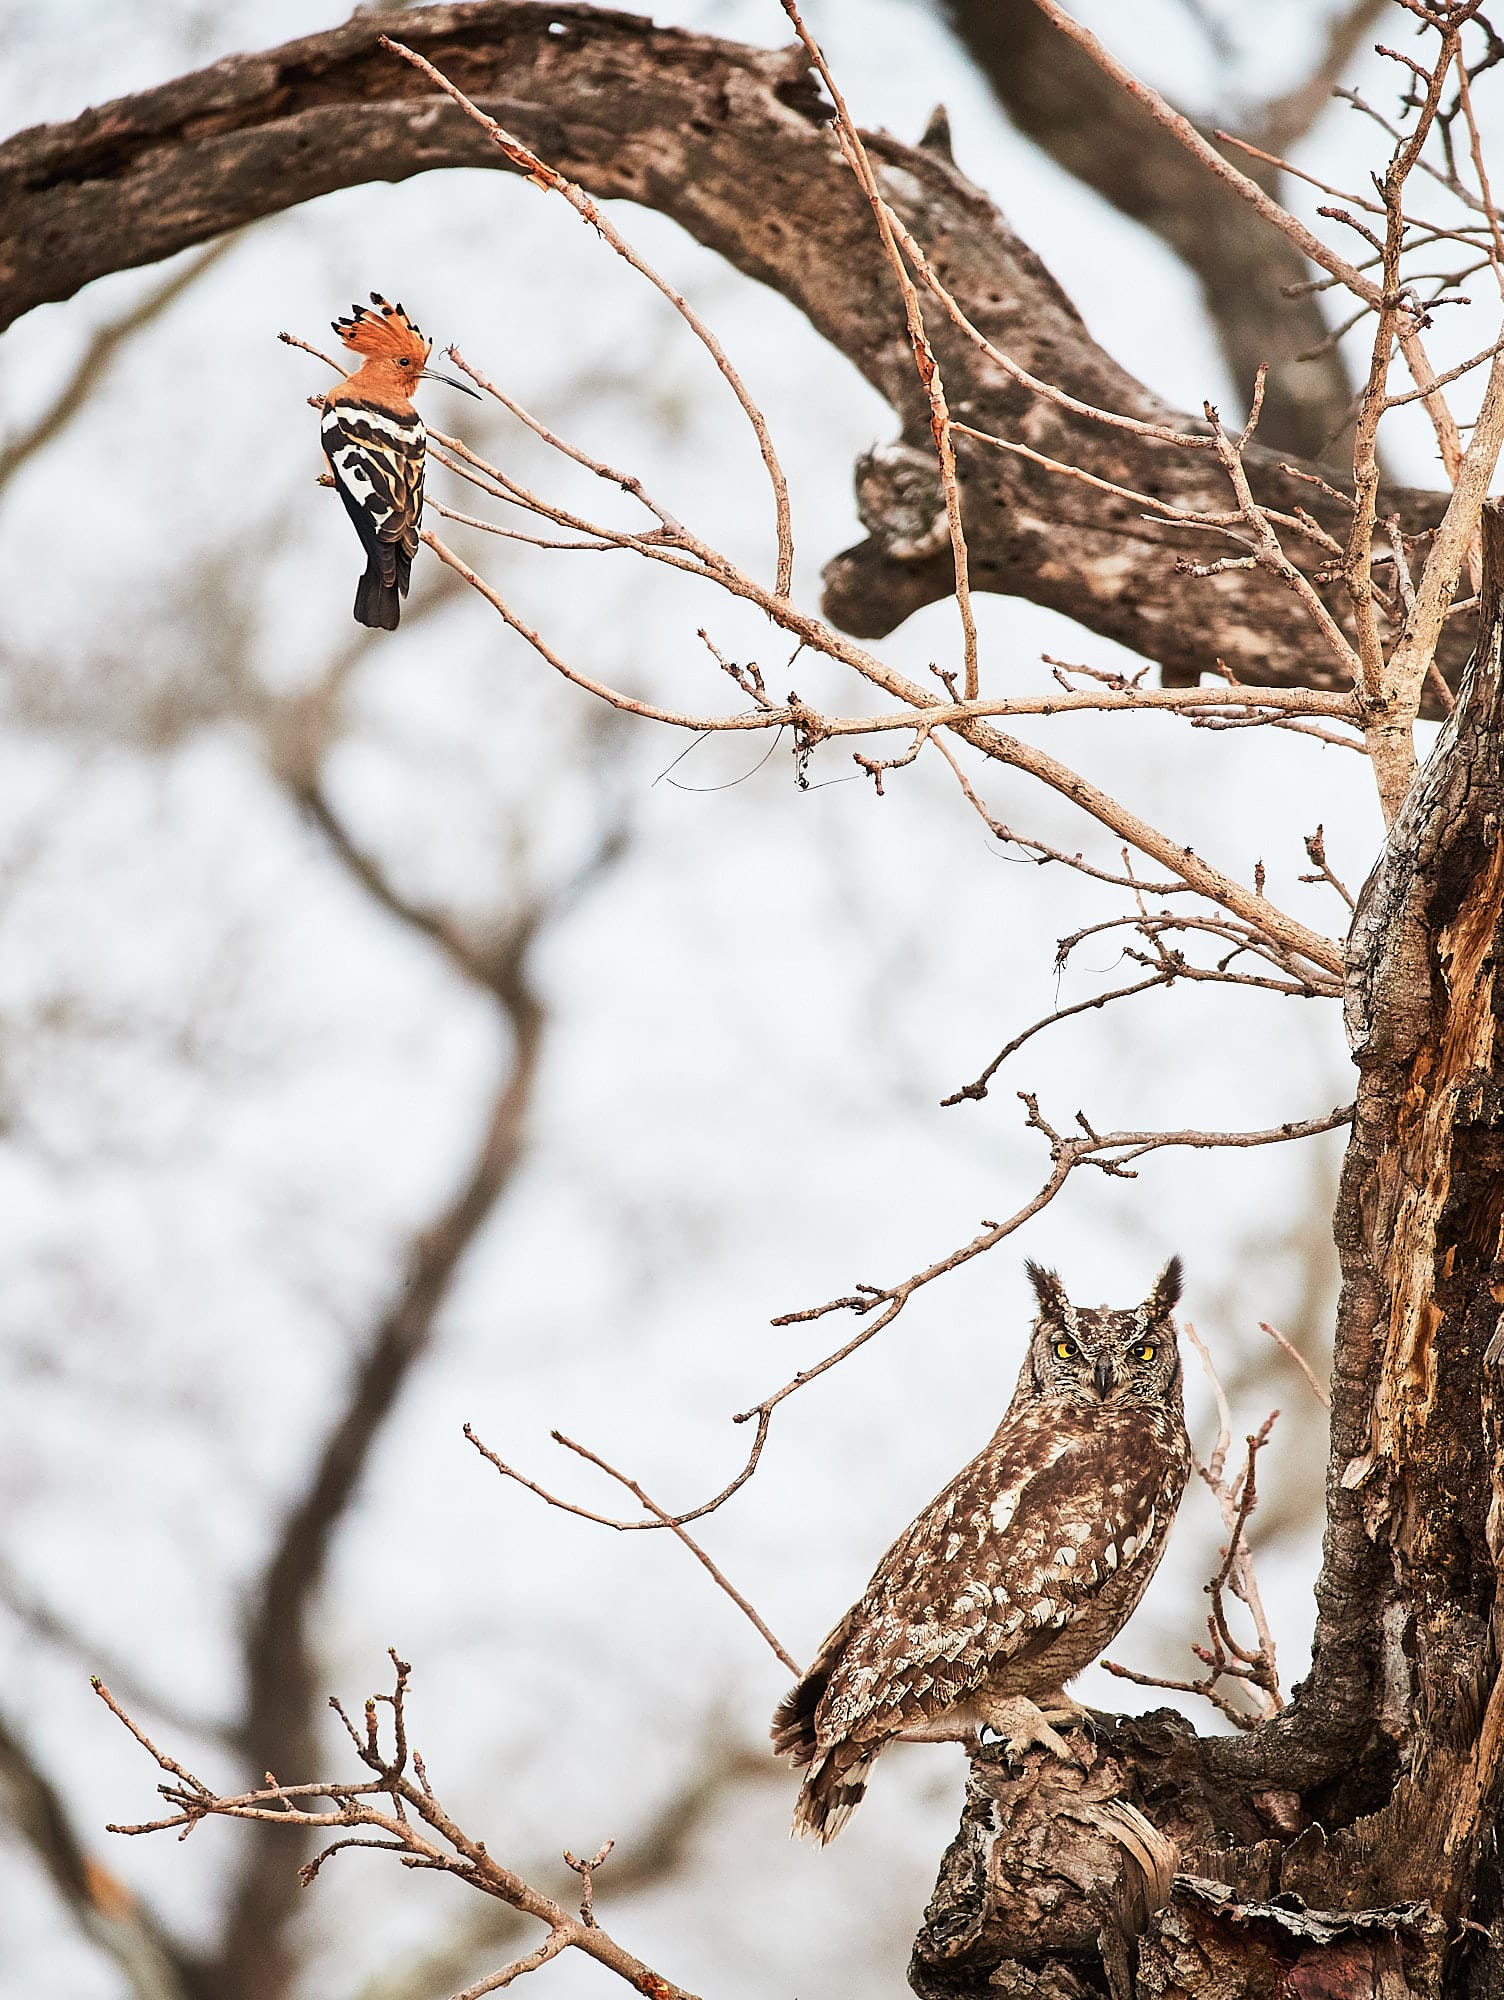
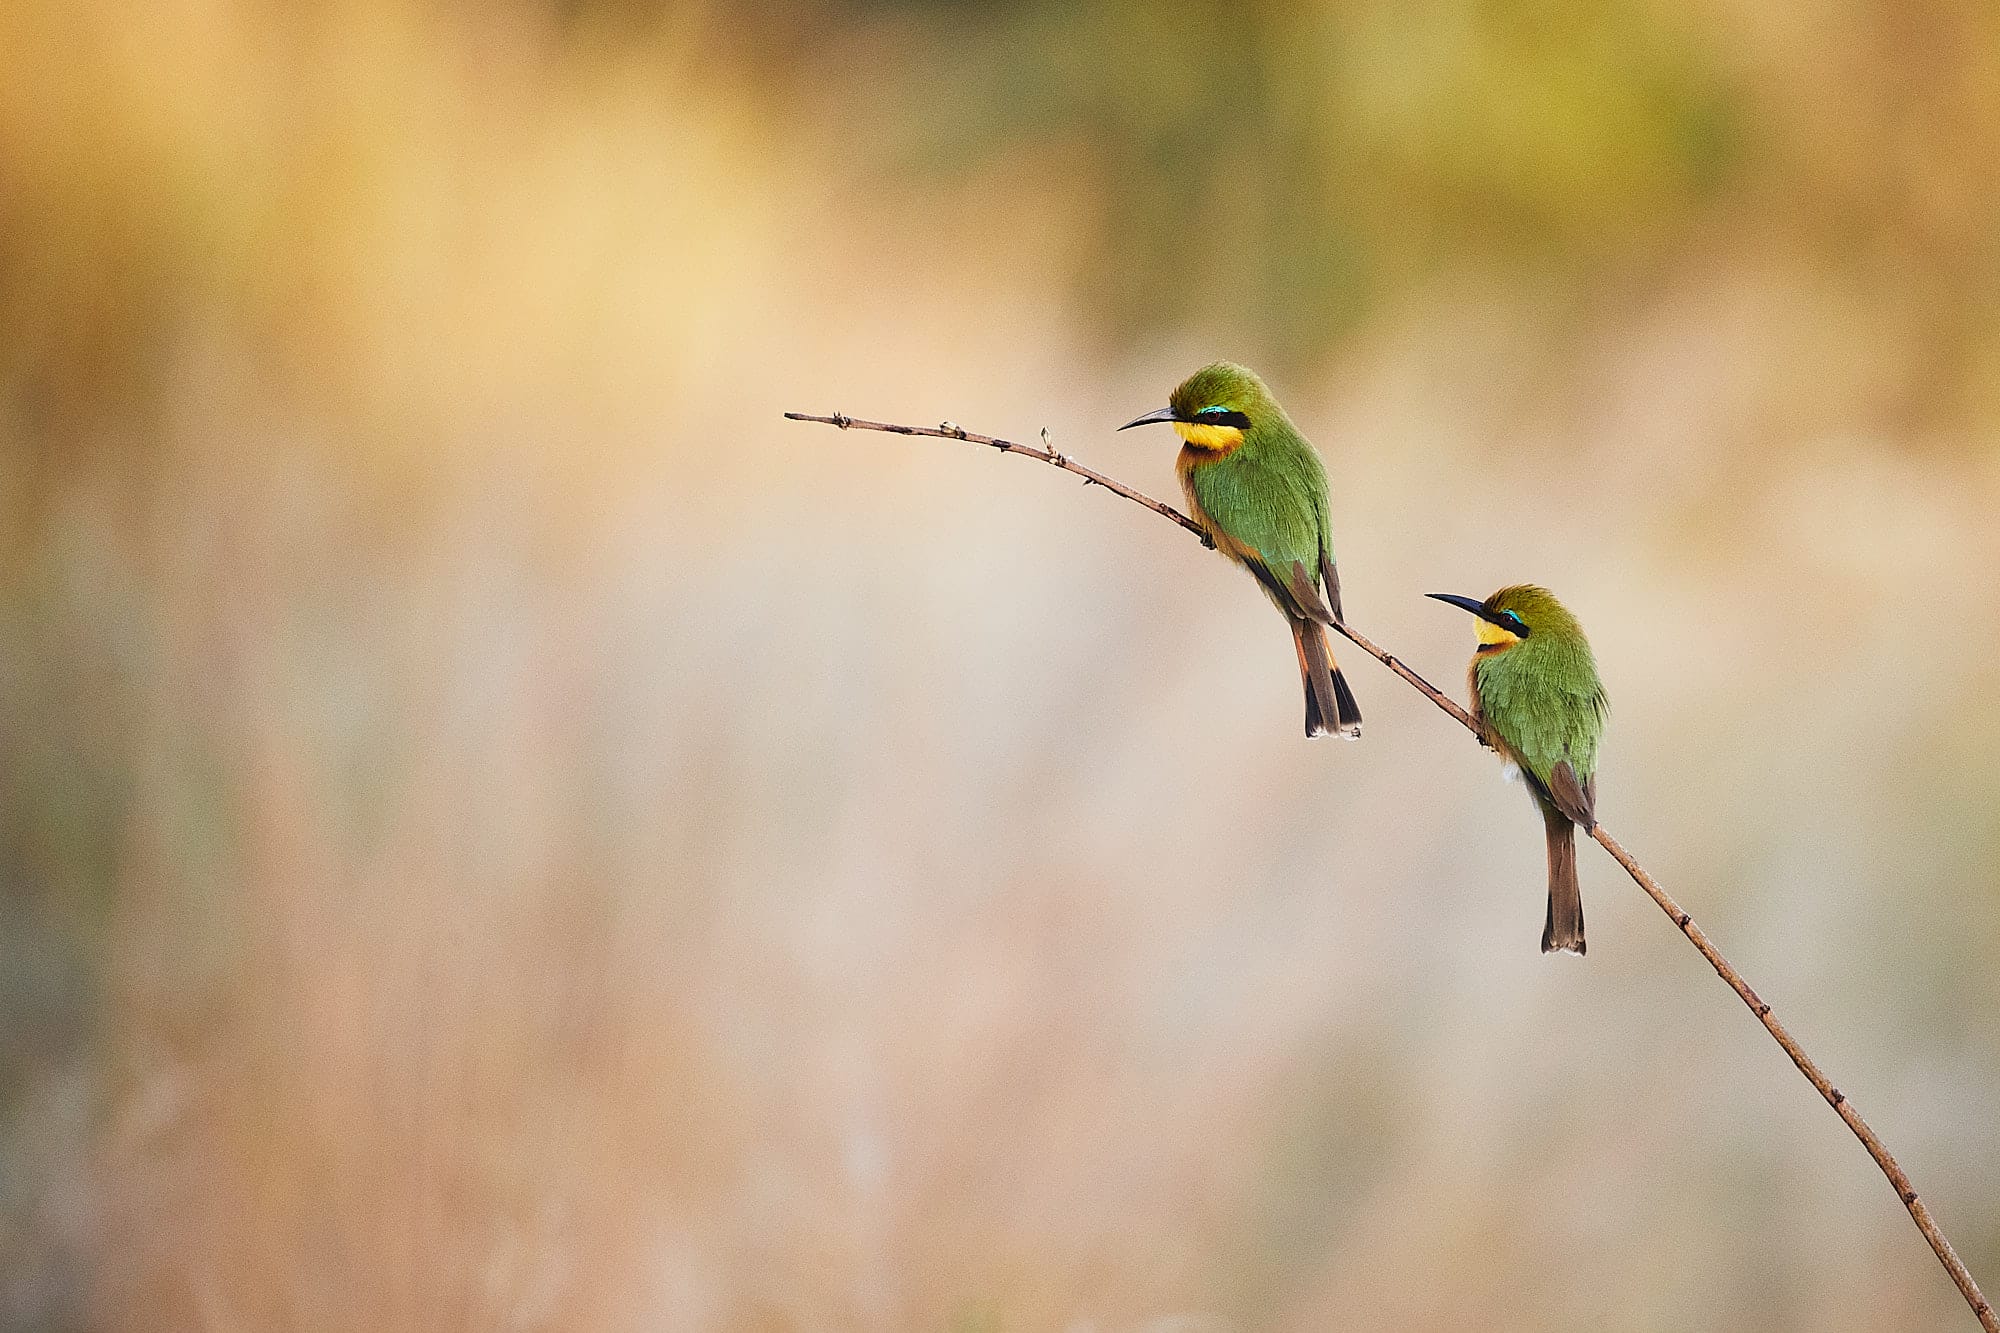
5. A pleasing background
This is the element most beginners overlook and most experienced photographers obsess over. The background can make or break a wildlife photo. A stunning subject in perfect light loses all its impact when photographed against a cluttered mess of branches, cars, fences, or harsh sky.
In Kruger, backgrounds are a mixed bag. The vegetation is dense, which creates both beautiful green backdrops and frustrating tangles of sticks and grass. Roads mean other vehicles can intrude into your frame. Rest camp fences and infrastructure show up more often than you'd like.
The best thing you can do is train your eye to see the background before you see the subject. When you arrive at a sighting, before you even raise the camera, look at what's behind the animal. Is there a clean stretch of grass? A wash of blurred colour from distant vegetation? Or a parking lot full of white SUVs?
If the background is bad, wait. Animals move. Cars move. The angle of light changes. A few minutes of patience can transform a cluttered scene into a clean one. And if it doesn't improve, consider whether the photo is worth taking at all — or whether you're better off simply enjoying the sighting with your own eyes.
Putting it all together
The magic of this framework is that it gives you something to look for on every drive. Instead of aimlessly scanning for animals, you're actively evaluating scenes. Is the subject cooperative? Is the light good? Am I close enough? Is it doing something interesting? What's the background like?
Most sightings will tick two or three boxes. That's normal. A sighting that ticks all five is rare, and when it happens, you'll know. There's a feeling that comes with it — a quiet certainty that everything has aligned and you just need to stay calm, keep your settings dialled and let the moment happen.
Those are the frames you'll print. The ones you'll remember decades from now. Not because of the gear you used, but because you were there, you were prepared, and you recognised the moment for what it was.